How to Add a Sender in Azguard Wallet
When performing private transactions on Aztec (such as transferring assets from public to private or private to private), the recipient must add the sender’s wallet address to their Azguard wallet. Without this step, the recipient will not be able to see private NFTs or tokens in their wallet.
[!NOTE] This is a required step for receiving any private assets. Make sure to add the sender.
Why is This Necessary?
Private transactions on Aztec use encryption to hide transaction details. For a recipient to decrypt and view incoming private assets, they need to explicitly authorize the sender’s address. This is a security feature that gives you control over who can send you private assets.
Step-by-Step Guide
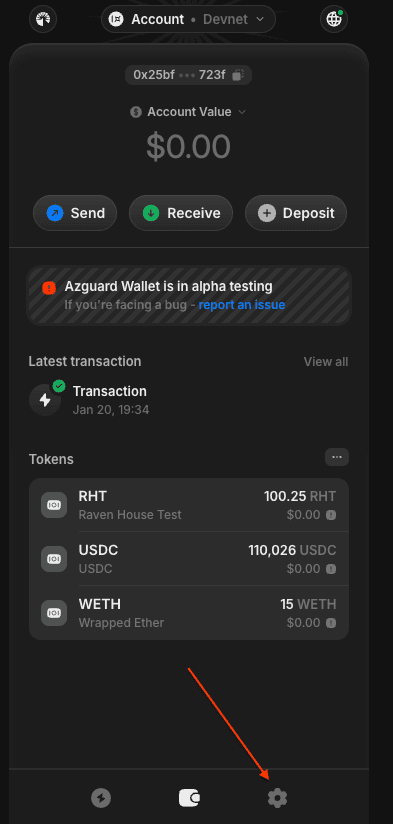
Step 1: Open Settings
Click on the Settings button located in the bottom right corner of your Azguard wallet.
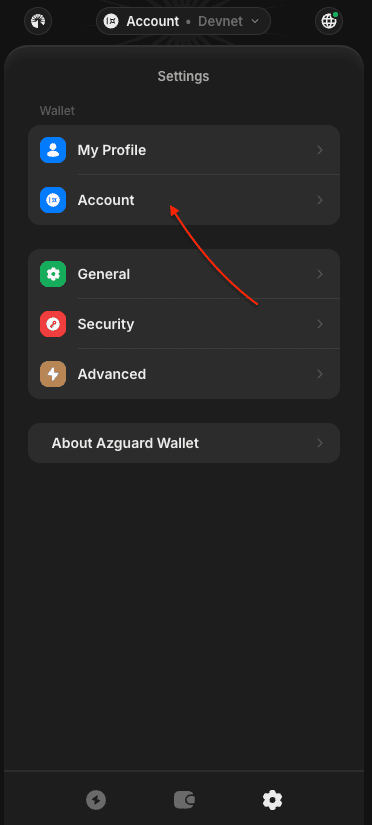
Step 2: Go to Account
In the Settings tab, click on the Account button.
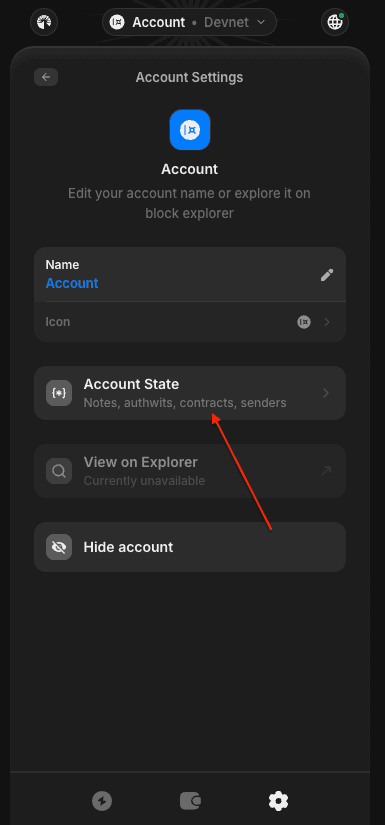
Step 3: Open Account State
Click on the Account State button.
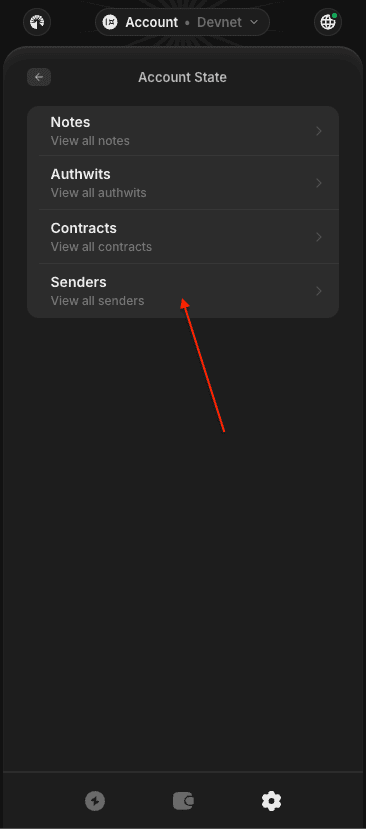
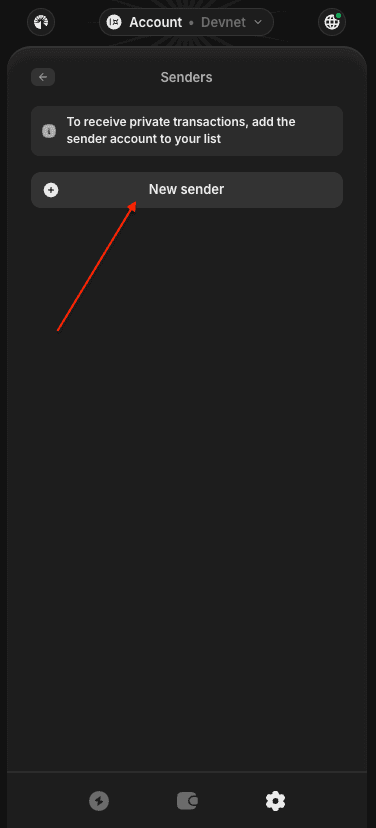
Step 4: Navigate to Senders
Click on the Senders button to view and manage your authorized senders.
Step 5: Add New Sender
Click on the New sender button to add a new authorized sender.
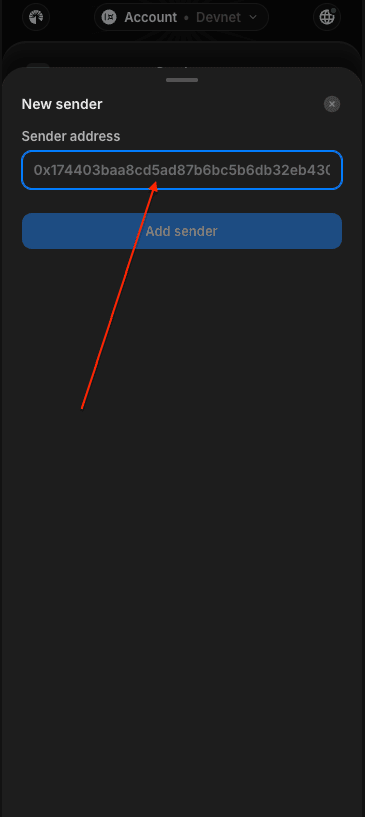
Step 6: Enter Sender Address
Paste the sender’s wallet address in the input field.
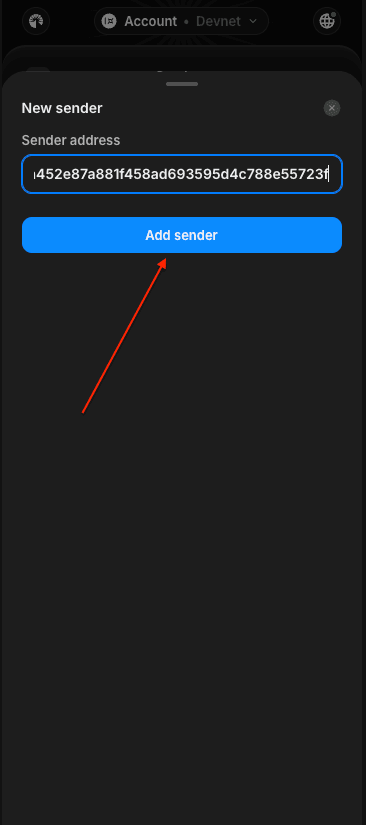
Step 7: Confirm
Click on the Add sender button to confirm and add the address.
Verification
Once added, you will see the sender’s address listed in the Senders page. The sender can now transfer private NFTs and tokens to your wallet, and you will be able to see them in your profile.
Support
If you encounter any issues, reach out to the community on Discord for assistance.